Thank you for your patience while we retrieve your images.
DalRod Photography
Portfolio
About
Contact
Client Access
Blog
Portfolio
»
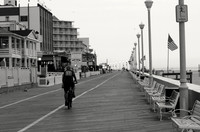
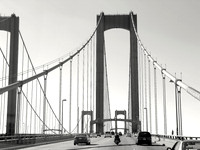
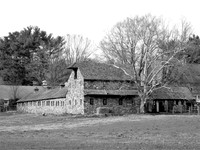
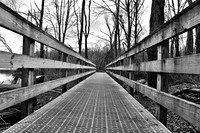
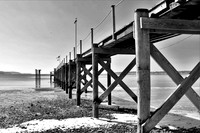
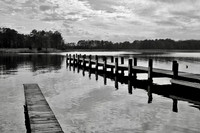
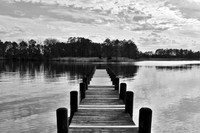
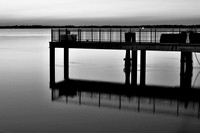
B&W Series
© DalRod Photography